When my buddy Jake called me up last month, he had a problem. His kitchen cabinets were outdated, his budget was tight, and he wanted something modern but warm—without breaking the bank. I told him about Shinnoki Frozen Walnut, a sleek, prefinished veneer that delivers a high-end look without the sky-high price tag. If you’re thinking about a DIY upgrade, this guide will walk you through how we tackled his project and how you can do the same.
Step 1: Why Choose Shinnoki Frozen Walnut?
Jake had already done some research on materials, but here’s why we decided on Shinnoki Frozen Walnut:
✔ Budget-Friendly: Less expensive than solid wood but looks just as premium.
✔ Pre-Finished for Easy Installation: No staining or sealing needed.
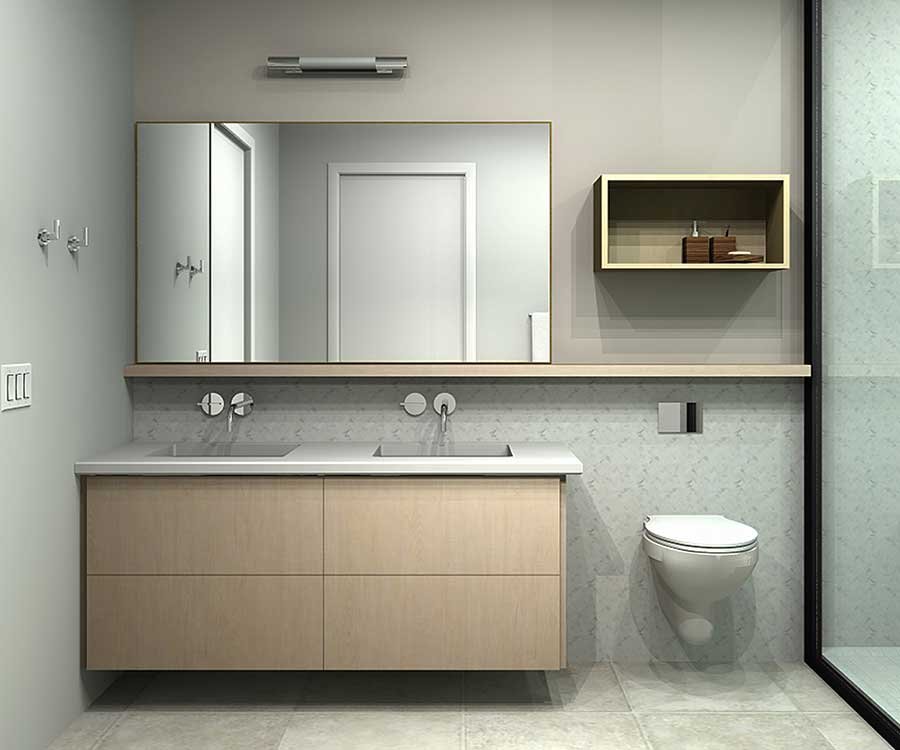
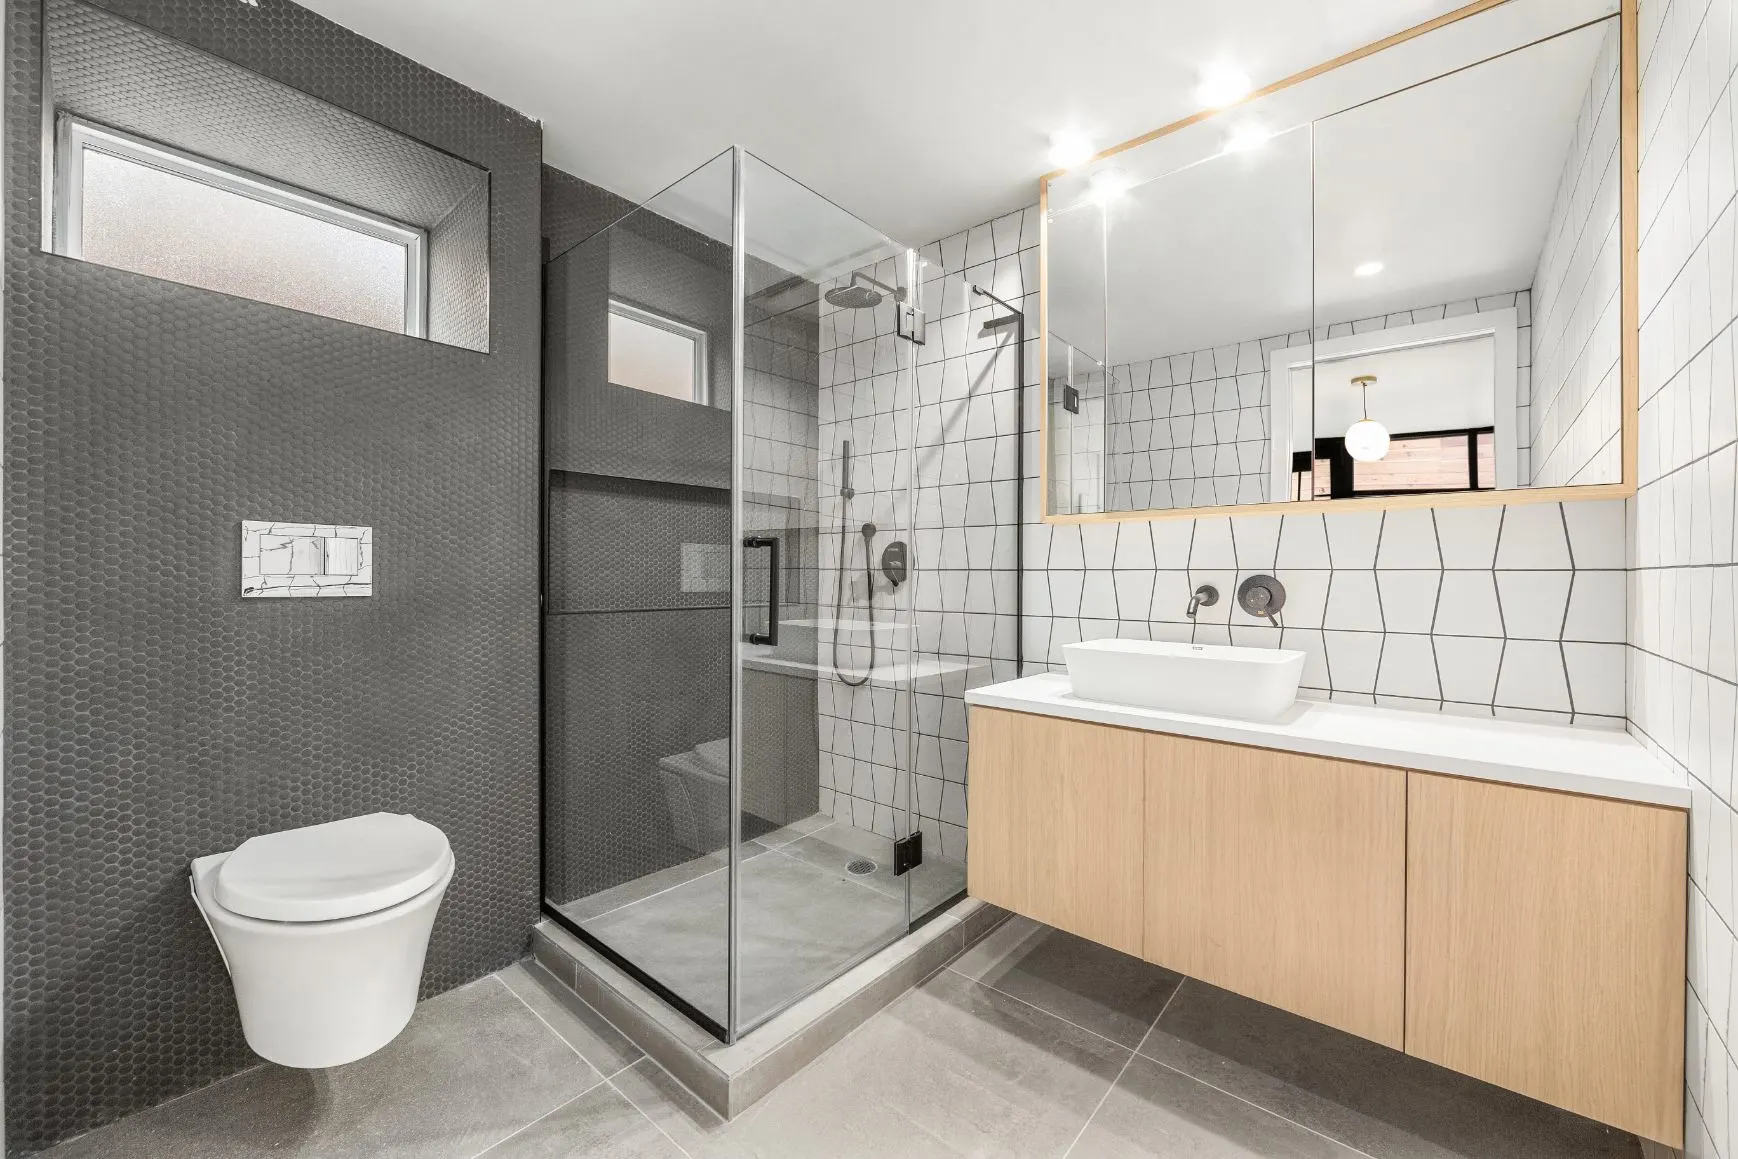
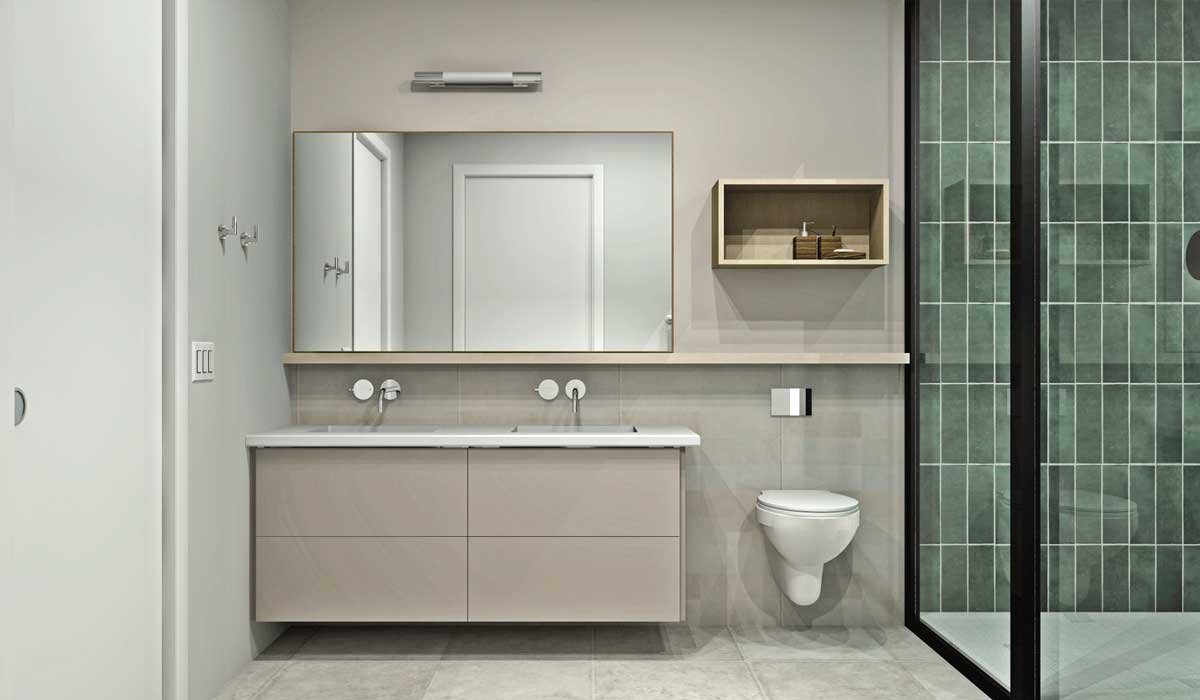
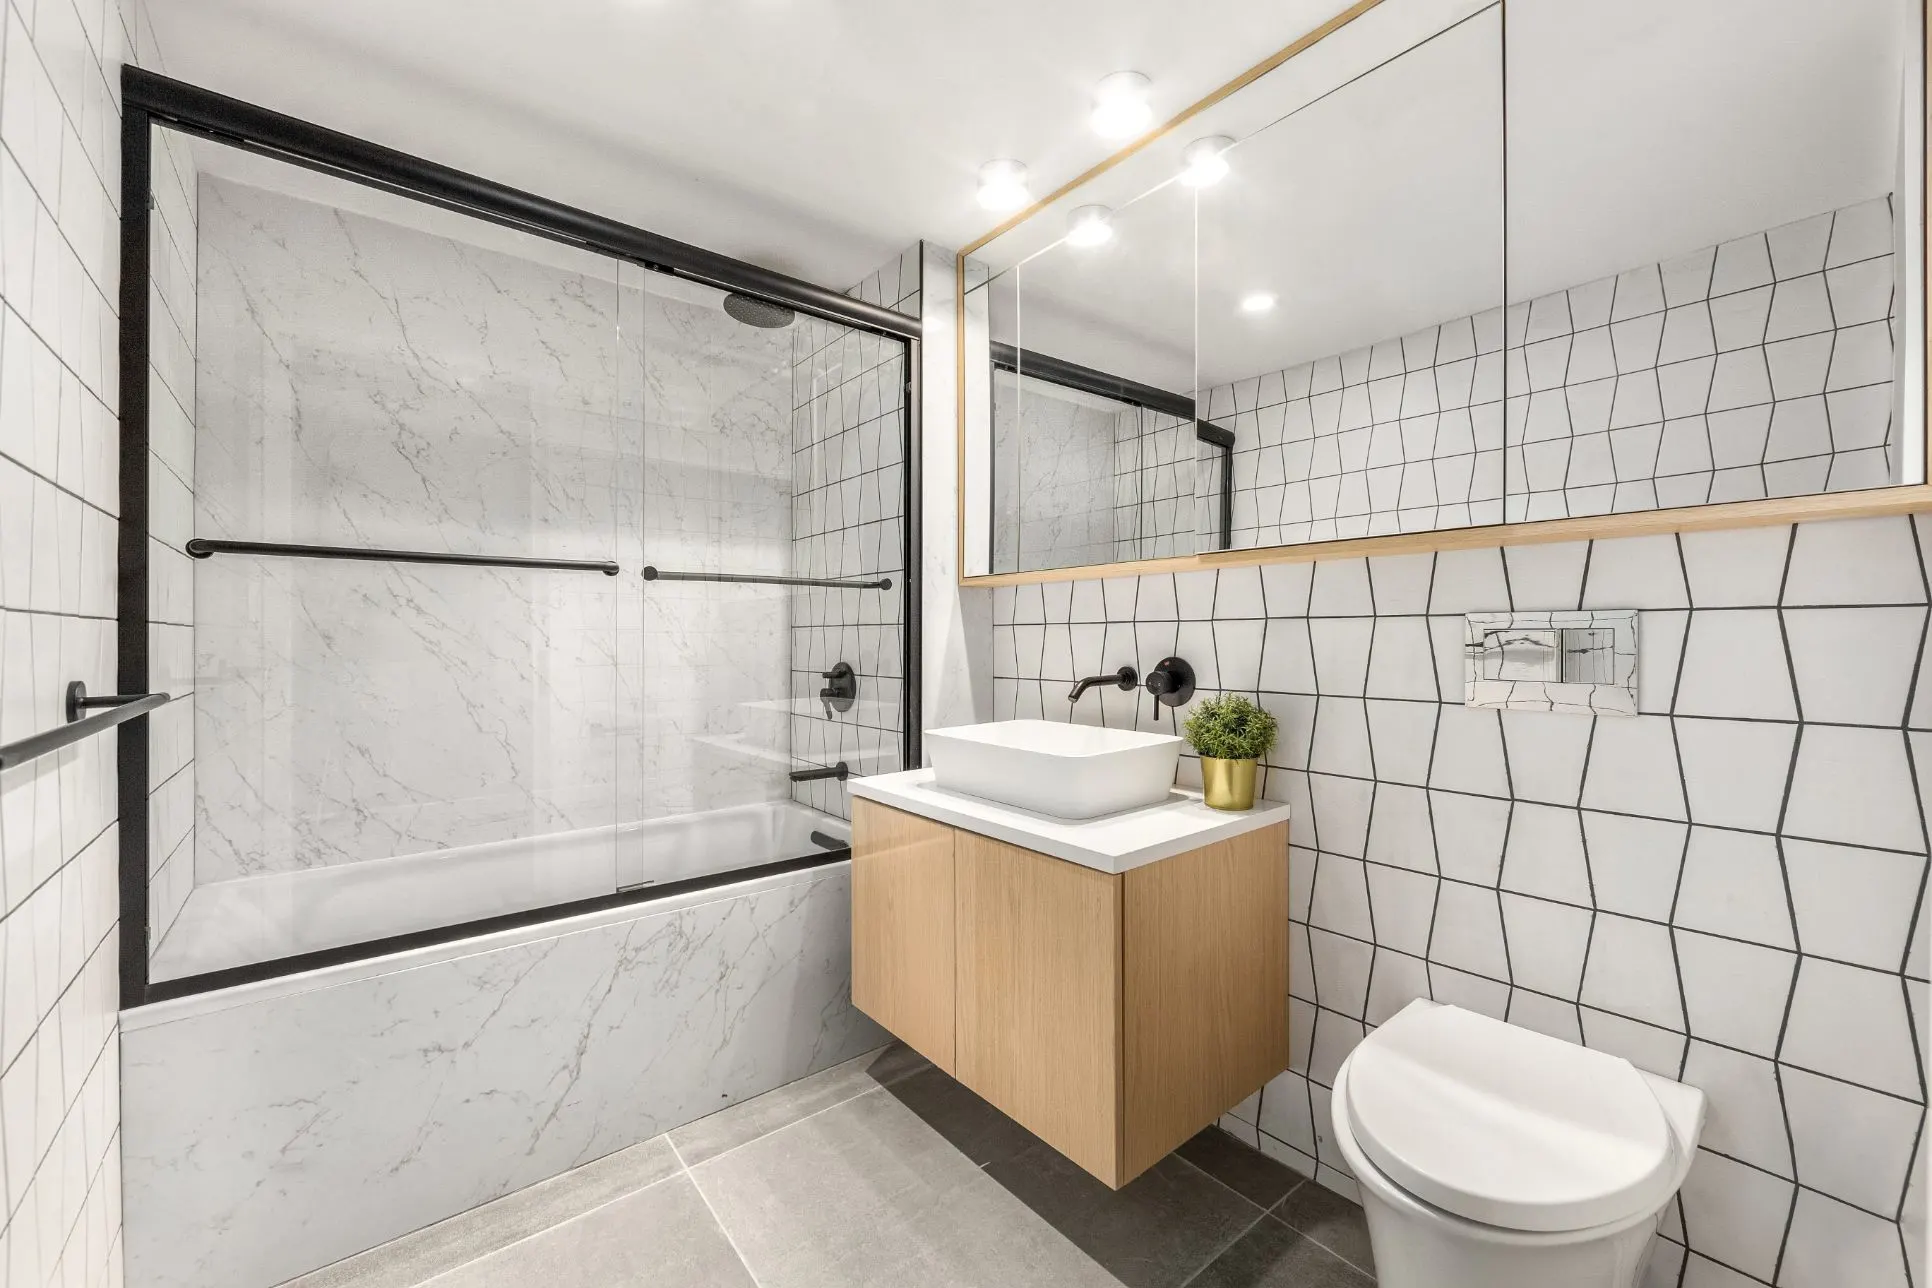
✔ Modern Yet Warm Aesthetic: The cool brown tone with subtle grain patterns gives a sleek, contemporary look without feeling sterile.
✔ Durable & Low Maintenance: Scratch-resistant and easy to clean—perfect for a busy home.
💡 Pro Tip: If you’re looking for a modern but timeless design, Frozen Walnut pairs beautifully with matte black hardware and minimalist accents.
Step 2: Planning & Prepping Your DIY Upgrade
Before we even picked up a tool, we needed a game plan. Here’s how we broke it down:
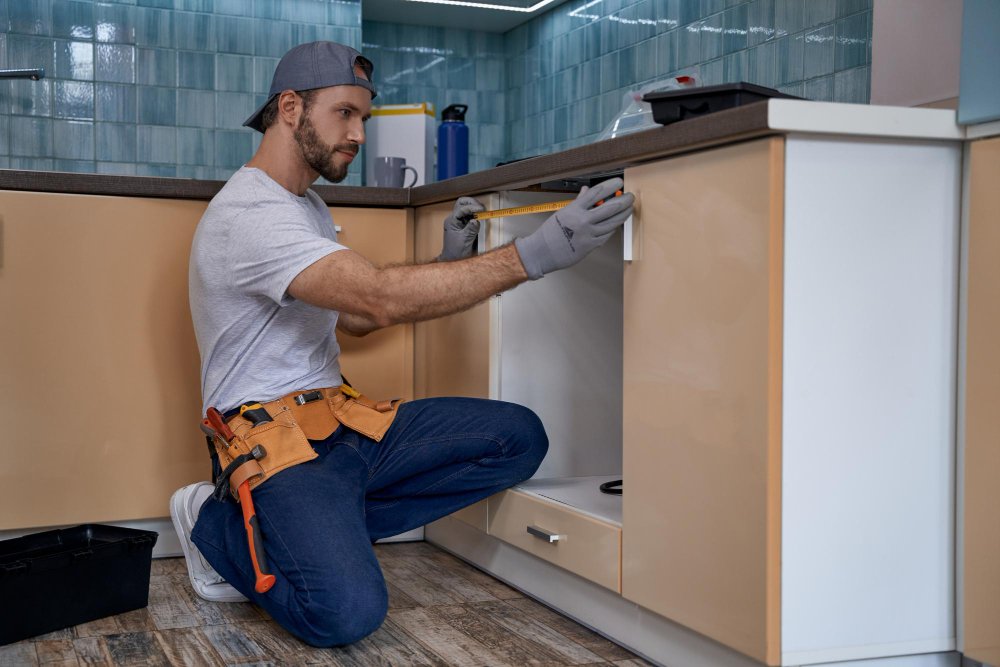
✔ Measure Twice, Cut Once – The golden rule of any DIY project. We took precise measurements of his cabinet doors and shelving.
✔ Set a Budget – Shinnoki panels are more affordable than custom woodwork, but we still factored in extra materials like adhesive, tools, and hardware.
✔ Choose Complementary Materials – We opted for black quartz countertops and matte brass handles to bring a modern edge to the space.
💡 Pro Tip: Sketch out your project before you buy materials. Apps like SketchUp or even hand-drawn plans can help you visualize the final look.
Step 3: The DIY Installation Process
Here’s how we transformed Jake’s kitchen step-by-step:
1. Removing Old Cabinet Doors & Sanding
We carefully unscrewed the old doors and sanded down the cabinet frames to ensure a smooth surface for the veneer panels.
2. Cutting & Applying Shinnoki Frozen Walnut Panels
✔ We used a fine-tooth saw for precise cuts without splintering.
✔ Applied contact adhesive to both the cabinet frame and veneer to ensure strong adhesion.
✔ Used a J-roller to press the veneer firmly in place, eliminating air bubbles.
3. Finishing Touches & Hardware Install
✔ Installed soft-close hinges for a premium feel.
✔ Added matte black drawer pulls for contrast.
✔ Cleaned up any adhesive residue and polished the surface with a microfiber cloth.
💡 Pro Tip: When installing veneer panels, work in a dust-free area to prevent dirt from getting trapped under the adhesive.
Step 4: Budget Breakdown – How Much Did We Save?
| Item | DIY Cost | Pro Installation Cost |
|---|---|---|
| Shinnoki Frozen Walnut Panels | $700 | $2,000+ |
| Adhesive & Tools | $100 | Included in labor |
| Soft-Close Hinges & Hardware | $250 | $400 |
| Labor | $0 (DIY) | $1,500+ |
| Total Cost | $1,050 | $4,000+ |
💡 Pro Tip: By going the DIY route, Jake saved nearly $3,000—and now he has a stunning, custom-looking kitchen to show for it.
Read More in Bathroom Revival Hub Blog
- Should You Refinish or Replace Kitchen Cabinets: Minimalist Updates That Transform Your Space
 Discover minimalist approaches to cabinet refinishing and replacement. From matte finishes and streamlined storage to neutral color palettes, learn how simplicity and precision can completely transform your kitchen.
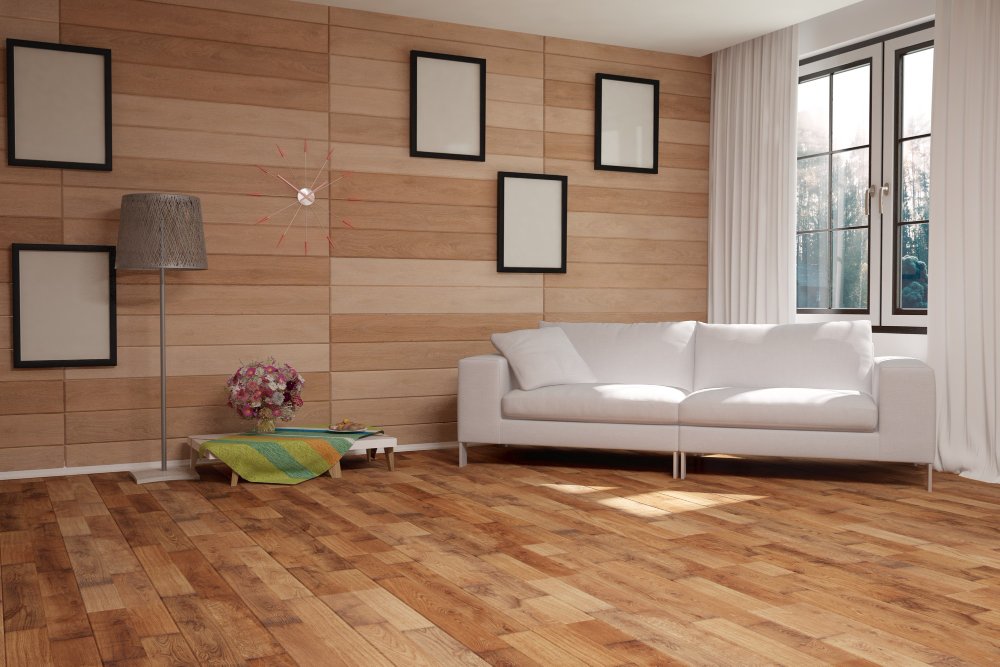
 - From Worn-Out to Wow: How Hardwood Flooring Saved Our Space
 True luxury lies in the everyday details—and DreamLine Custom Cabinetry delivers just that. From kitchens to bathrooms and beyond, their tailor-made cabinetry blends elegance, efficiency, and deeply personal design. In this style-forward, descriptive piece inspired by Emily Henderson’s warm and elevated voice, discover how DreamLine transforms more than just your storage—they shape how your space feels and functions. Explore their stunning materials, custom solutions, and the craftsmanship that quietly elevates every room. If you’re ready to move beyond off-the-shelf and into a home that feels truly yours, this is the glow-up your cabinets—and your lifestyle—deserve.
 - DreamLine Custom Cabinetry: Where Luxury Meets Everyday Living
 True luxury lies in the everyday details—and DreamLine Custom Cabinetry delivers just that. From kitchens to bathrooms and beyond, their tailor-made cabinetry blends elegance, efficiency, and deeply personal design. In this style-forward, descriptive piece inspired by Emily Henderson’s warm and elevated voice, discover how DreamLine transforms more than just your storage—they shape how your space feels and functions. Explore their stunning materials, custom solutions, and the craftsmanship that quietly elevates every room. If you’re ready to move beyond off-the-shelf and into a home that feels truly yours, this is the glow-up your cabinets—and your lifestyle—deserve.
Final Thoughts: Is DIY with Shinnoki Frozen Walnut Worth It?
Absolutely. If you’re looking for a modern, cost-effective solution to revamp your kitchen, cabinets, or even shelving, Shinnoki Frozen Walnut is a solid choice. With a little patience and planning, you can achieve a high-end, designer look without paying designer prices.
So, grab your tools and get started—because nothing beats the satisfaction of a job well done. And hey, if Jake can do it, so can you.